Purpose
Installing M-Files on a PC.
Outcomes and Prerequisites
Outcomes
M-Files Application for SimplerQMS has been installed on a PC.
Prerequisites
The PC must comply with the system requirements, see https://www.m-files.com/user-guide/latest/eng/operating_system_requirements.html
Step 1 – Download the M-Files Installation Package
Go through the following steps to install SimplerQMS M-Files:
Open a web browser and go to www.simplerqms.com/test
You will be redirected to our file share on SharePoint.
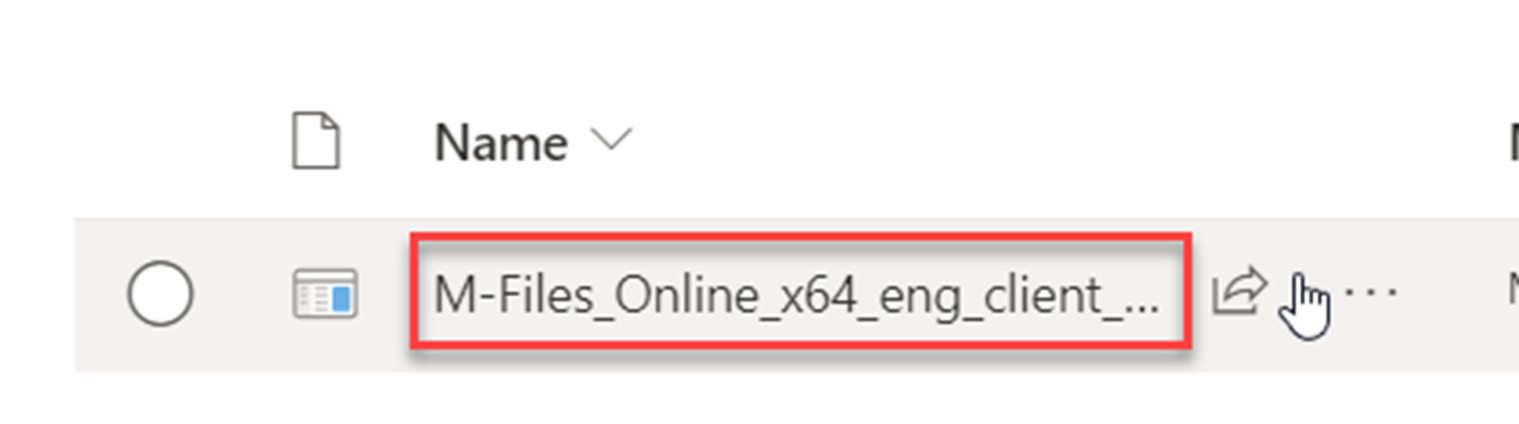
Download the installation package:
After you have downloaded the installation package, you might see different warning messages such as these:
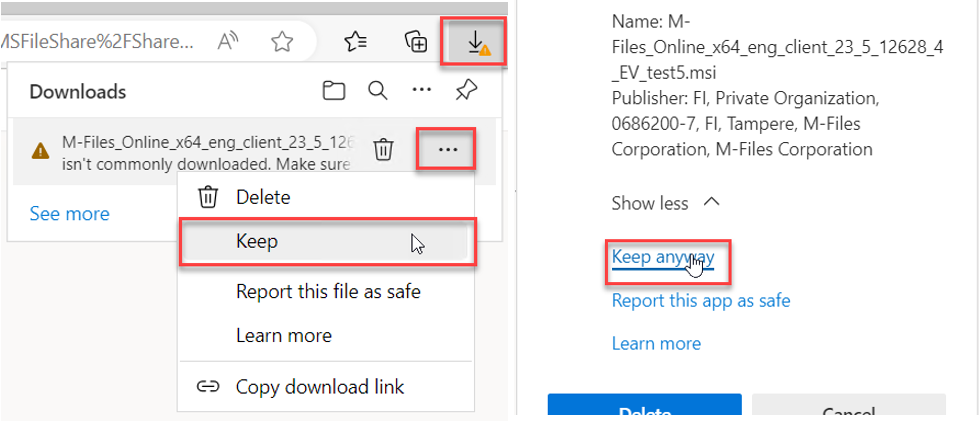
Click Keep and then Keep anyway.
Then Run the installation package.
You might see this message:
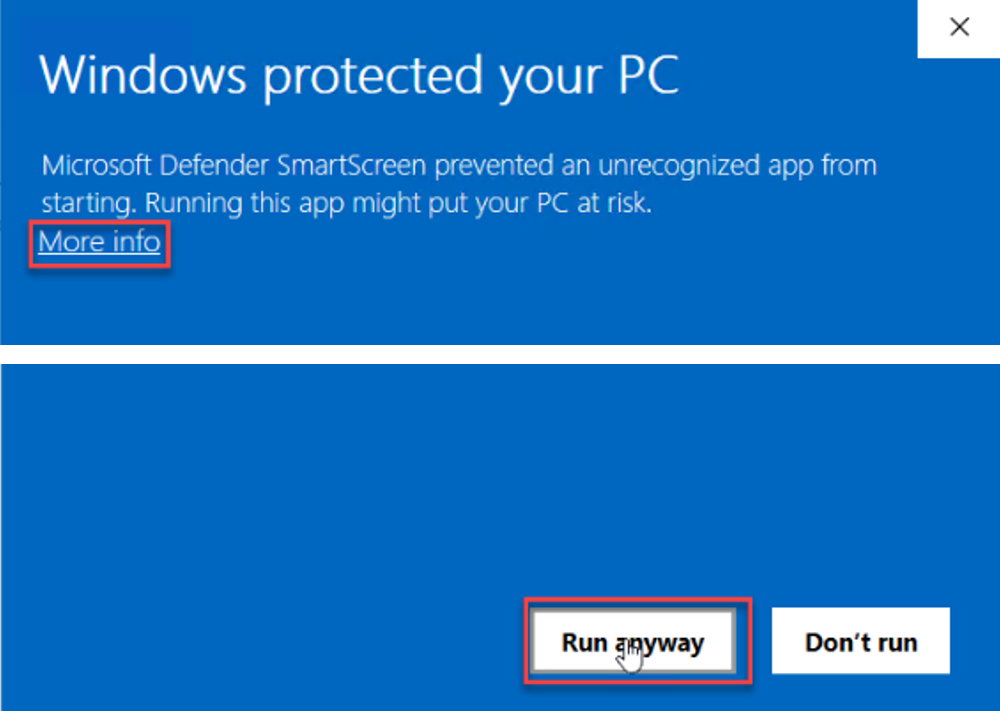
Click More info and Run anyway.
Step 2 – Install the M-Files Online Application
The M-Files Installation Wizard will appear:
- Click “Next”. The End-User License Agreement will now appear.
- Select “I accept the license agreement” and click “Next”
- Depending on your Windows version and setup, the following dialogue box might appear: “Do you want to allow this app to make changes to your device?” Click Yes. M-Files will now start installing.
- You will then see: “M-Files has been successfully installed.”
- Untick the checkbox “Start M-Files Desktop configuration.”
- Click Finish.
Step 3 – Login to SimplerQMS / M-Files
Note: You will only be able to complete this step after receiving your login credentials from SimplerQMS.
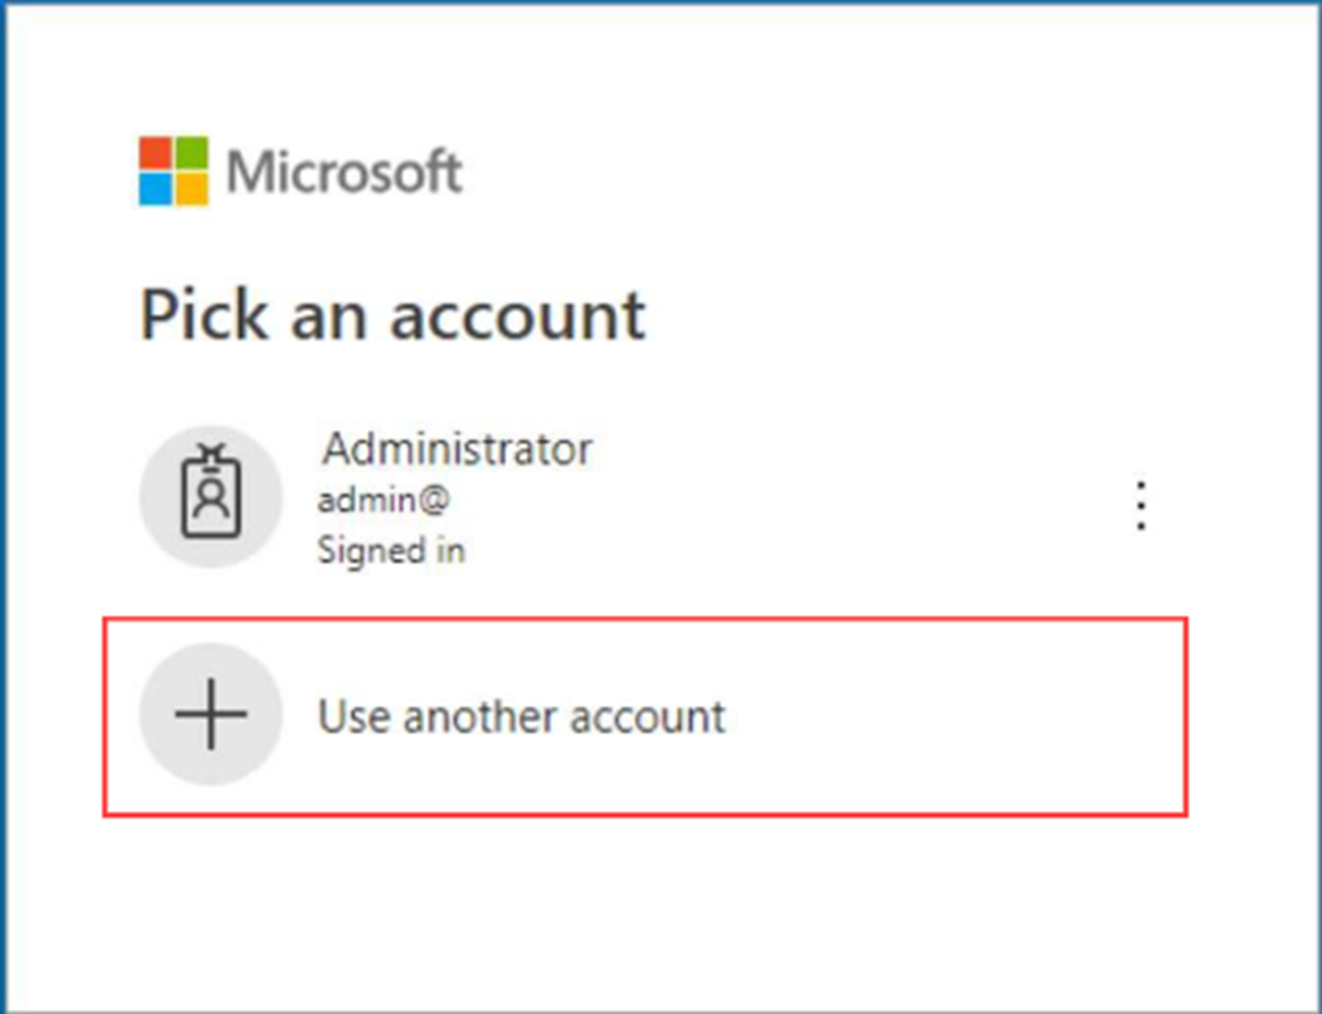
You should now see a Microsoft Log-in window:
If you don’t see this window, then go to your desktop and click the M-Files icon.
1. If you previously used another Microsoft account, then click “Use another account”
2. Log in using the credentials you receive from our team members
- Look out for the following:
- The email address should end in “@simplerqmstest2.com”
3. Wait for this dialogue box to appear (this can take up to 20 sec.):
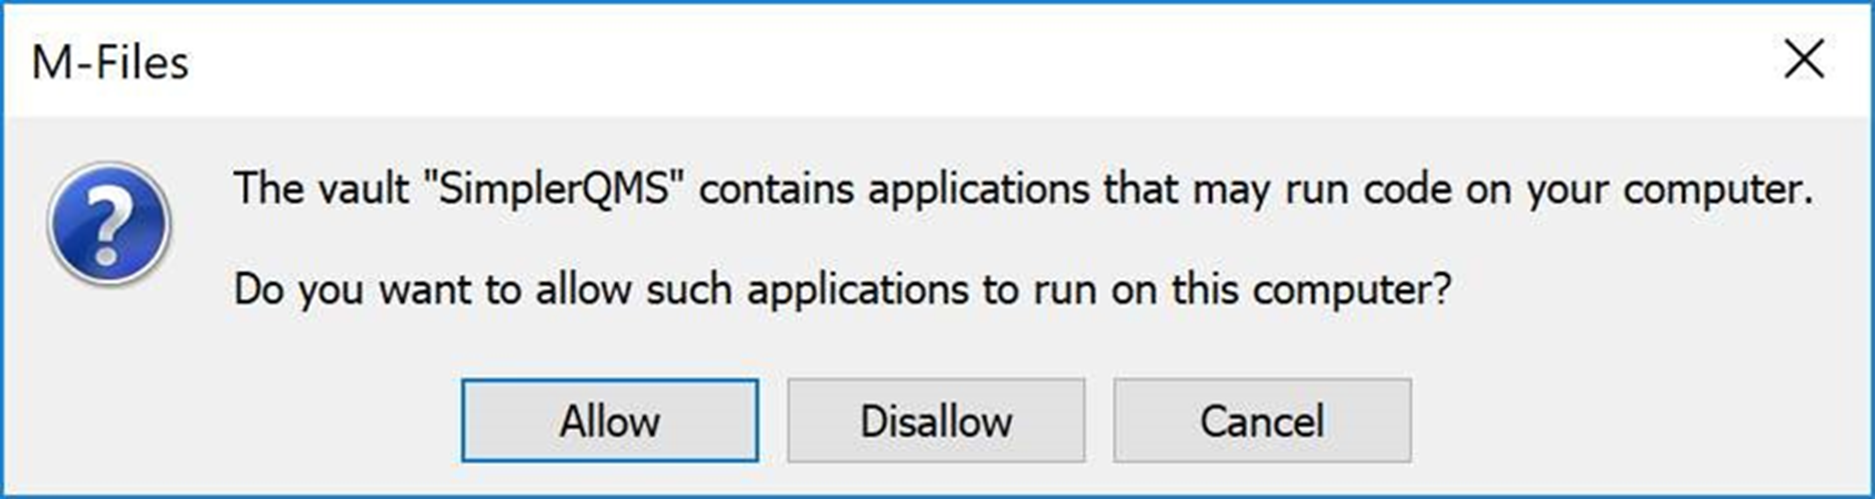
Click Allow. The M-Files Applications has now been installed and will now open.