Purpose
Tutorial for the first use of SimplerQMS in the Chrome Web Browser.
Outcomes and Prerequisites
Outcomes
You are able to login and use SimplerQMS
Prerequisites
Chrome for Windows or MacOS installed
Step 1
Open your Chrome Web Browser. If you do not have Chrome, please install it first.
For Training:
Go to this address: https://simplerqmstest2.cloudvault.m-files.com/
For your own production:
Go to this address: https://[insert company name here].cloudvault.m-files.com
Step 2
Create a Bookmark for this tab named SimplerQMS.

Step 3
Click the link Log in with Azure AD

Step 4
Type your personal company email address and click Next. Then type your password and click Sign In.

If this is the first time you use your email address to login, then you will be prompted to change your password.
Step 5
You should now see the web site, which looks like this:

First time you login, you need to install the M-Files for Chrome extension. Do this by clicking the this extension link in the top bar.
Now, add the extension to Chrome.
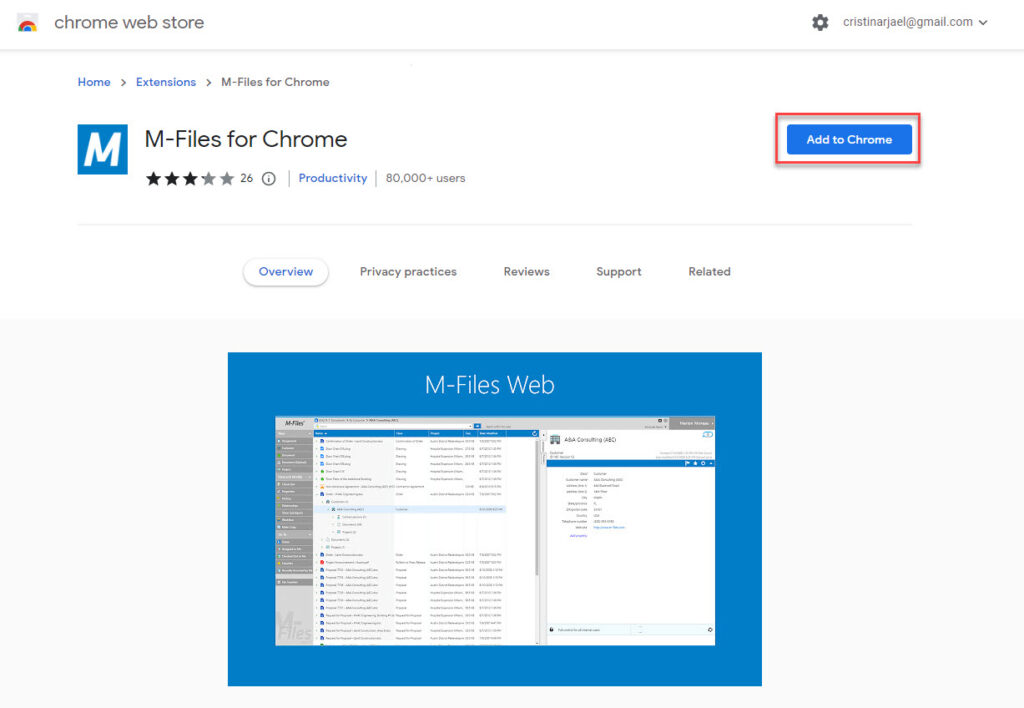
Check that extension has been added by clicking on the Extensions icon at the upper right corner of your browser

Complete the installation by clicking on on here. In Windows, the installation file will appear at the bottom of the screen. Run the installation file.
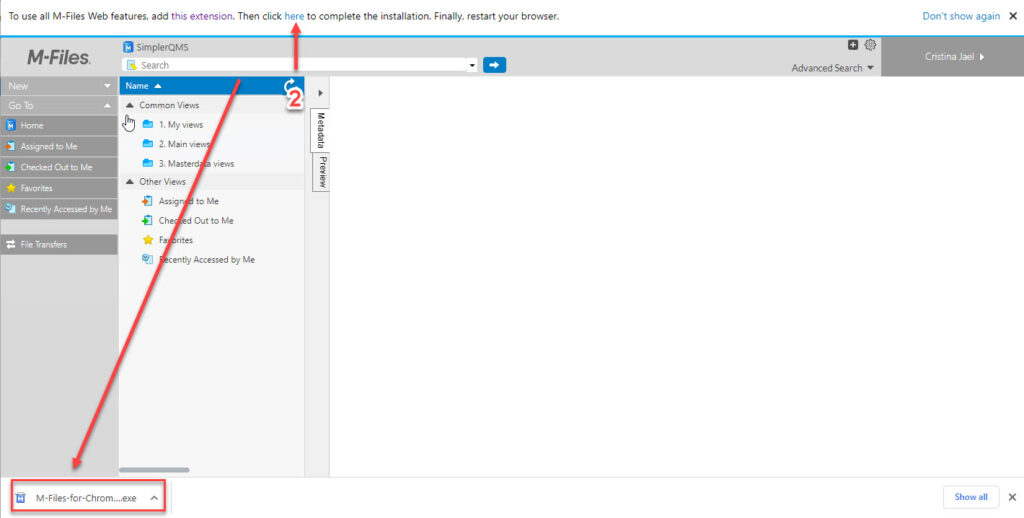
On MacOS the installation ZIP-file needs to be downloaded and then run it.
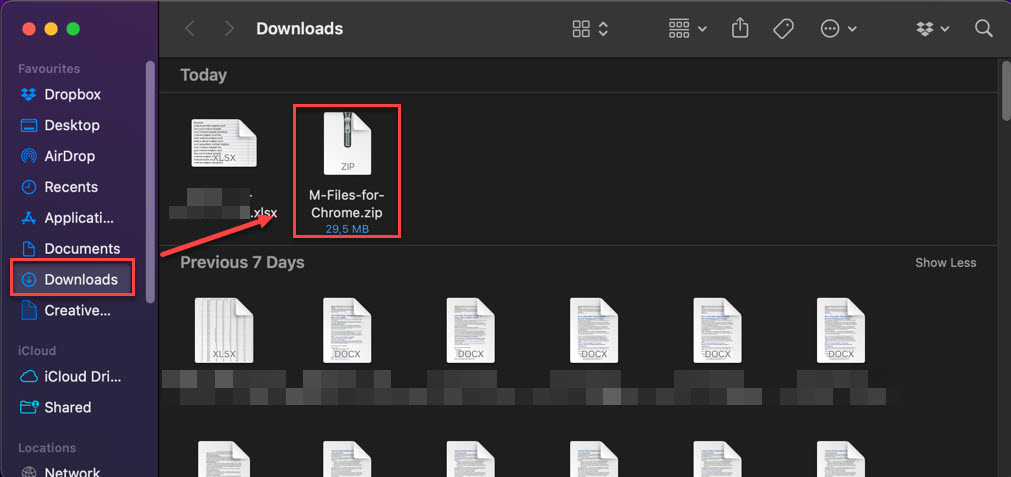
When the installation is completed, close your entire Chrome Browser (not just your tab).
Step 6
Make sure that Notifications for the Google Chrome Browser are turned on.
On Windows:
Search for “notifications” in the Windows Search bar and click Notifications & Action Settings:

Scroll down to Google Chrome and switch the notifications on if they are turned off. (You can switch them back off again after completing this guide).

On MacOS:
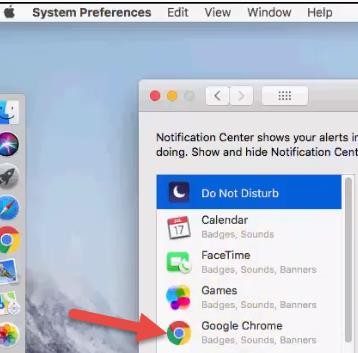
Go to System Preferences > Notifications
Make sure your Google Chrome Notifications are turned on (You can switch them back off again after completing this guide).
Step 7
Open Chrome and click the SimplerQMS bookmark you created earlier.
On Windows:
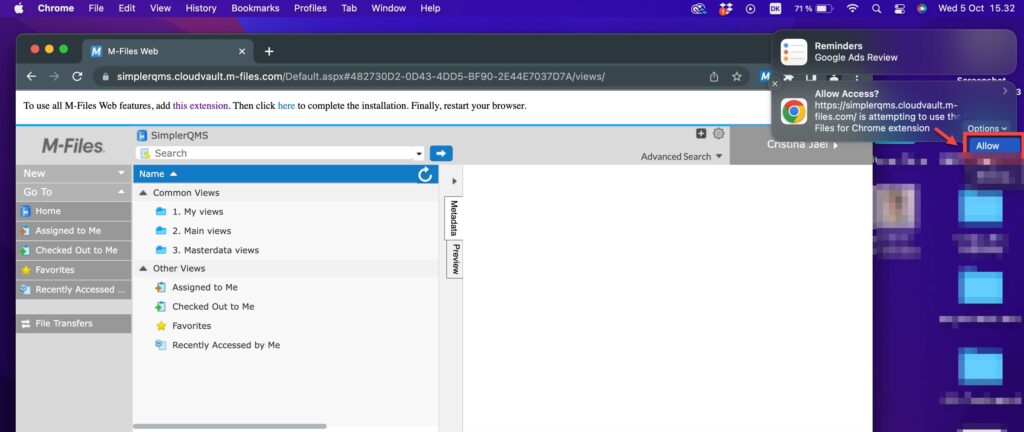
You should now see a notification which asks you to Allow Access. Click Allow.
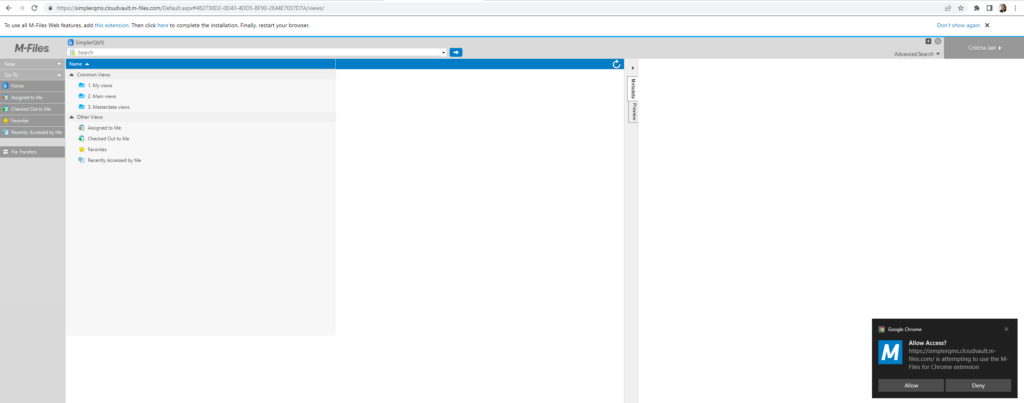
On MacOS:
You should now see a notification on the right side of your screen, Click Allow.
When this has been successfully completed, then you should no longer see the yellow bar in your browser:
